Showing posts with label fall decor. Show all posts

October 10, 2014

Autumn Paper Garland from Etsy #homedecor

I've already expressed my love for fall...this much we all know. I love everything about the season. Scarves, boots, cozy layers, and a warm cup of cider.

I also love decorating our home for the harvest season, and using alot of natural elements from a nature walk.

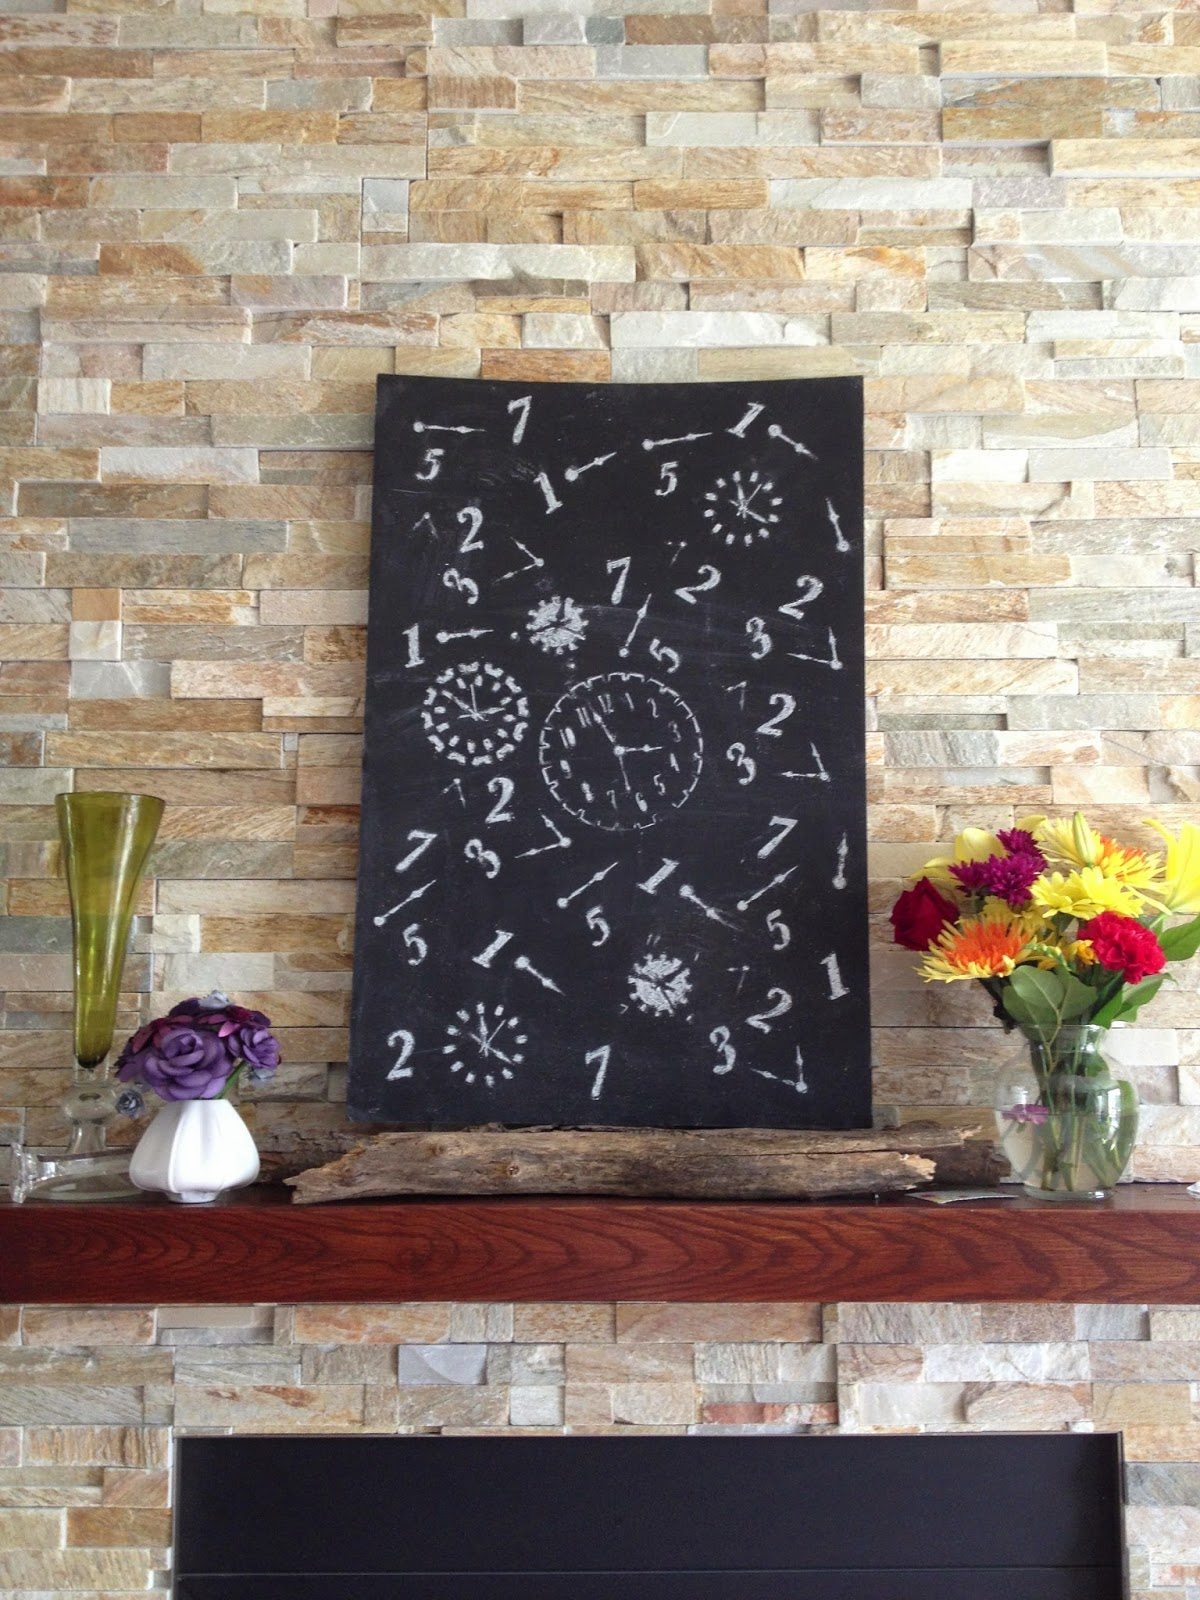
We have a beautiful stone double sided fireplace {which is what really sold us on the house} with a gorgeous mantle. It's perfect for holiday decorating, and usually capped off with a chalkboard sign of some sort.


This year, I'm looking to add some type of garland to the mantle. Off to Etsy I went!


Clockwise from Top Right

Fall Mini Bunting by littletidbitsofjoy
Blush pink and gold fabric garland by PenelopeandLala
Scalloped Glitter Garland by stephlovesben
Paper Garland Crisp Fall Days by ArtsDelight
Golden Yellow Felt Garland by FairyfolkWeddings

I really can't decide which one is my favorite!! They're all so beautiful, and simple!
signature

October 18, 2013

Fall Decor Finds on Pinterest

Wrapping up some of my favourite fall decor finds on Pinterest today.

I LOVE a good fall decor project, and these are absolutely beautiful!


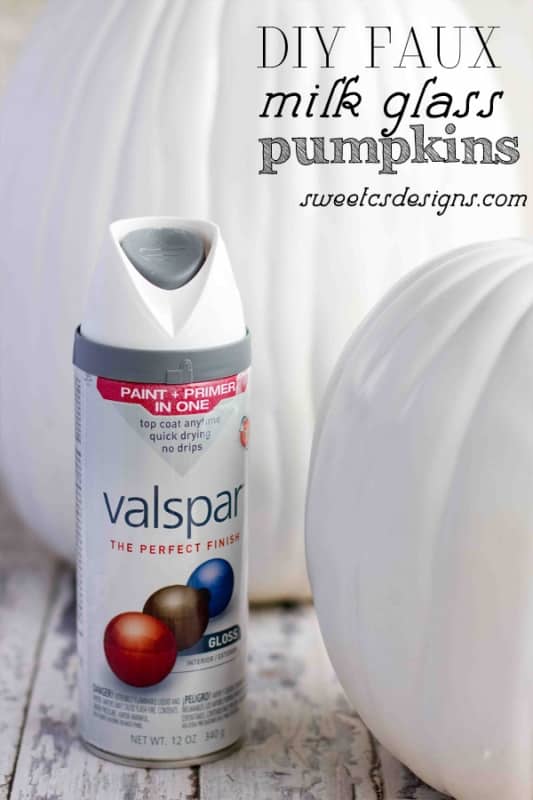
Sweet CS Designs shares a project for Faux Milk Glass Pumpkins. We have a full set of milk glasses that we received as a wedding gift, and I love them. They are lovely for a brunch or bridal shower, and I think taking this nostalgic design and implementing it in an unexpected item such as a foam pumpkin is genius! I will definitely be adding these to our porch this year!


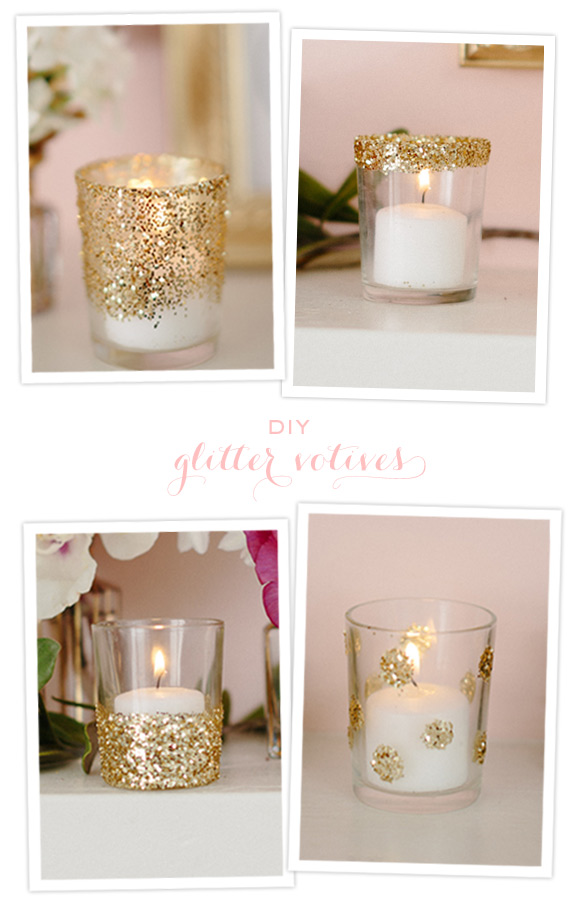
Imagine these pretty glitter votives next to the milk glass pumpkins on your mantle, or as a grouping on your kitchen table! SO PRETTY! Check out 100 Layer Cake's tutorial here

Need to light the way for a romantic dinner? I love these chalkboard mason jar candle holders from Joy Bobo. Simple and easy, rustic and chic. I love them!


What are youre favourite Fall DIY Decor projects? Link them in the comments!

Photobucket

October 4, 2012

Guest Blogger: Creative Cynchronicity...fall crafts!


Hi there! I'm Cyn from Creative Cynchronicity and I'm so thrilled to be guest blogging here today.  I blog about bringing the creative into the everyday whether that be crafting, cooking, parenting - just living life to its fullest!  I hope you'll drop by and have a look around.


Today, I have a really quick and easy (and inexpensive!) craft for you that adds a lovely touch to a party, a fireplace mantel, tablescape, or even as part of your front porch decor.  These little luminaries are so pretty!


The supplies you will need for this are:
Peat pots - I was able to find packages of them for $1 at Dollarama (dollar store) but you can also find them at garden centres and stores that carry plant and garden supplies
Paint - simple acrylic craft paint will work just fine here.  I chose to use silver, gold, and copper because I wanted a shimmer and for it to go with my fall decor but any colour will work.  You can find these paints at your local craft store but the ones they carry at Dollarama do a fine job as well.
A paint applicator - I used an old stiff paint brush because I wanted to do a dry brushing technique on them- again you can find these at the dollar store, an art supply store, or craft store.  You can also use a piece of a kitchen sponge if you'd like to sponge paint these or if you'd simply like to apply paint smoothly, a foam brush works well.
A large nail - I used this for poking holes in the peat pots - anything that you can poke a hole with works
Scissors - if you want to cut designs into the pots or create shaped edges
Rhinestones, beads, skeleton leaves, or other trims and doodads -  if you care to add them to your luminaries; these are completely optional!
Plain white glue - If you are using those doodads, you need a way to stick them on.  I found that a glue gun seeped through a bit so if you use that instead, use a light touch.  I also found that a white school glue worked well but because of the curved shaped of the pots, I had to spend a lot of time holding my embellishments in place while the glue began to set - otherwise they'd just fall off right away.  My preferred glue for this is Aleene's Fast Grab or Aleene's Quick Dry tacky glues because they held so much faster and there was less sitting around and waiting for glue to dry time!


I like to begin by cutting out any designs I want to have in the peat pots.  For example, I cut zigzag and scalloped edges on some and made one into a Jack O'Lantern.  I like to do the cutting first so that I can paint the edges if desired.


Next up is the painting.  I used a dry brush technique.  I found that a fairly stiff brush worked best. Dip it into your paint and then brush it several times over a paper towel or some other surface to unload as much of the paint as you can before applying it to the peat pot.  You want your brush to be nearly dry because this gives a subtle effect to the pots that can look a bit aged and weathered.  As I stated above, you could also just cover them in paint the traditional way (which is what I did with the Jack O'Lantern) or you can sponge paint on them.  Experiment and have fun with it!


Once the pots were dry (it doesn't take long!), I began gluing on any embellishments that I wanted.  Finally, if I wanted to add any holes to the pots to allow more light through, this was my last step.  I like to wait until the very end for this because then you can place them accordingly to where the embellishments and your cut out designs are.


Thanks so much to Sweet Stellas for allowing me to share this idea with you here today! I hope you enjoy it!




Photobucket

September 28, 2012

Fabulous Finds Friday: Wheat Vases

I saw these lovely little vases when looking for fall decor, and they look of so simple and cute, all lined up and filled with wheat.


How would I DIY?

I would take 4 bottles of all the same size and shape {maybe Red Stripe bottles since they're short and squat}, and clean them really really well.

Then, I would smooth on white vinyl letters {or paint them with a white paint} and fill with wheat from my pal Hanlon Lain Photography's farm!

Easy peasy, and looks so lovely!! I'll have to try it soon!

September 17, 2012

10's of Fall...Pinterest decor ideas

Linking up with my gals Steph and Mel this morning to talk about some really amazing fall decor finds from Pinterest!

What am I finding the most inspiring this autumn season?

Outdoor


Indoor


What I really love about all of these ideas is that they are easy...and something that you could do while your children are napping! Popping leaves into a frame, putting some found sticks from a nature walk into a tall vase, dunking a pumpkin {sprayed with adhesive} into glitter...voila! Autumn harvest in your own home!

What are your top 10 Pinterest fall home decor finds? Linkup with Steph and Mel today!


Photobucket

September 14, 2012

Fabulous Finds Friday: Heartwarming Hearth

When I think of fall, I think of hay rides, apple picking, burlap sacks, potted mums and pumpkins. Those elements are all very clearly outdoor elements, but who says that you can't bring them inside?


Big tall candles wrapped with jute

Branches in white vases, with the perfect touch of red from the maple leaves

Candles in the fireplace {adore!}

Photos of apples in a crisp white matt


And then...the bunting! How clever, and what a perfect touch for fall!
Related Posts Plugin for WordPress, Blogger...
Blogging tips